

To show how easily to publish a Jupyter notebook as a post on your WordPress website
It is so easy to create your website, especially using WordPress today. You probably have a business website, blog site or whatever. Maybe you use Jupyter notebook a lot for data analysis, and/or running your machine learning models. You also would like to publish your Jupyter notebooks with the results as posts in your website. If this is the case, please follow me to see how to do that with 2 easy methods.
1. Save the Jupyter Notebook as an HTML file
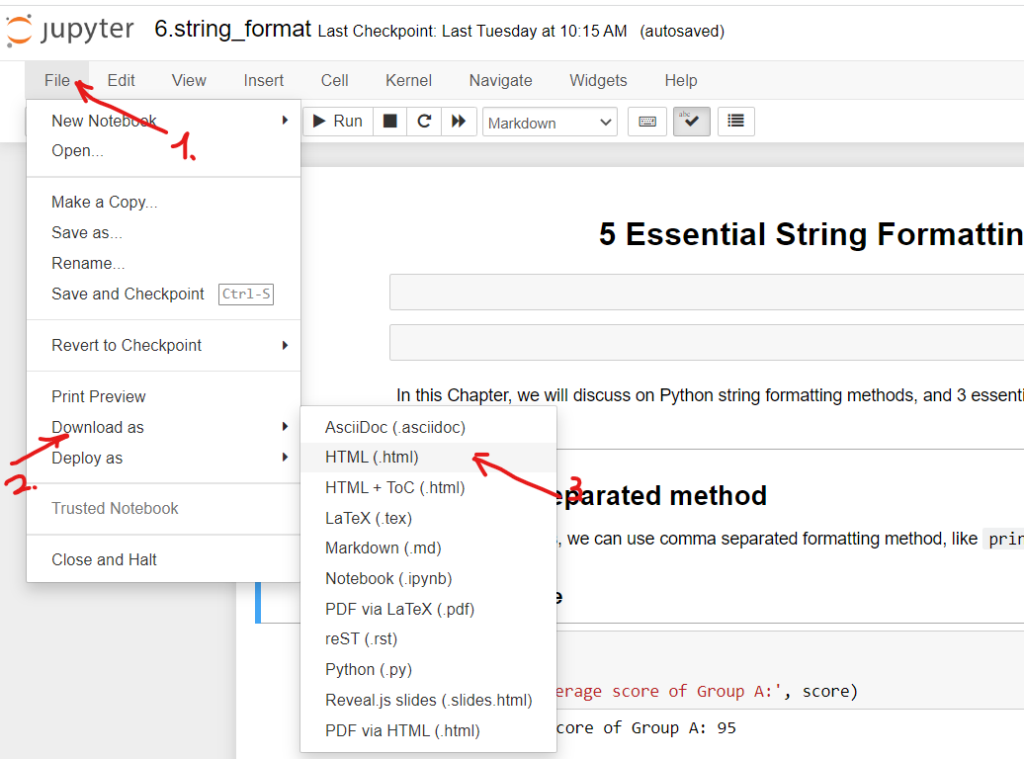
First, open your Jupyter notebook that you would like to publish as a post in your WordPress website. Next, go to the File menu, followed by Download as. Then click HTML (.html).
2. Method 1: Copy and Past Method
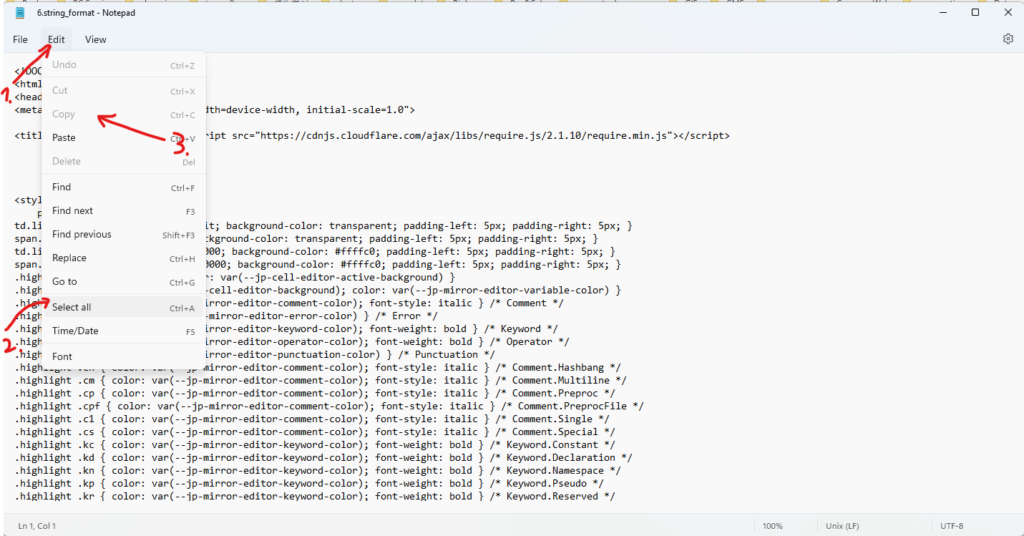
Open the downloaded html file with any text editor, html editor, such as Notepad, Notepad++, Word, VS Code, etc. For example, we use the simple text editor to open it. Then select all html code and copy it.
Now, login to the backend of your WordPress Website and create a new post. Click the three dots on the right corner on your post, and next click Code editor, or use the shortcut to open the Code editor. Next, past the copied code in the code editor. Then, click the three dots and choose Visual editor. It usually needs to edit the text because there might some empty space, repeated title, and so on. After you add the categories, tags, feature image, preview and whatever, you can publish it.

You can click this post to see the result of one of my post published used this method.
3. Method 2: Embed HTML File in the Post
For this method, the easiest way is to install an iframe and File Manager WordPress plugins.
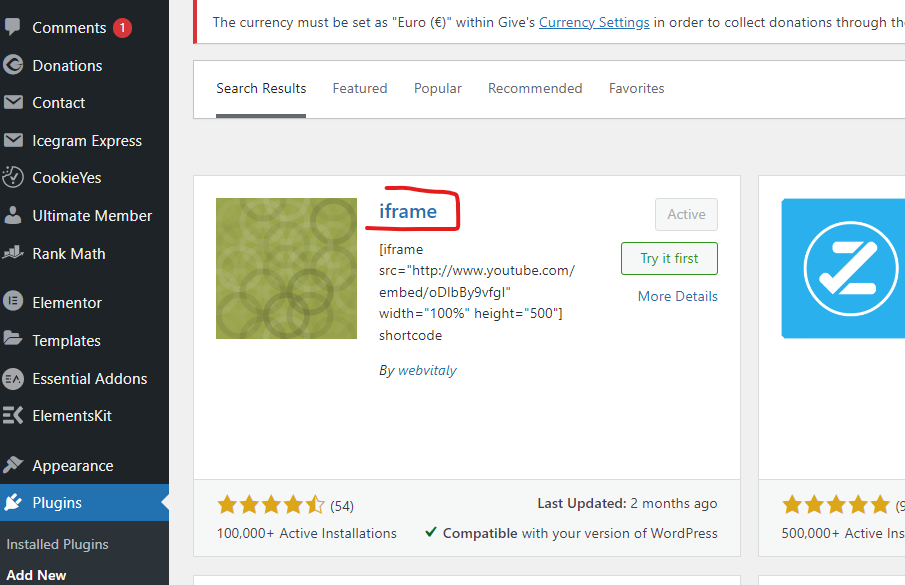
Step 1: Install iframe plugin
Just to go to the plugin and press add new, and then type iframe to search. I suggest you installing the following one and then activate it.
Step 2: Install File Manager plugin
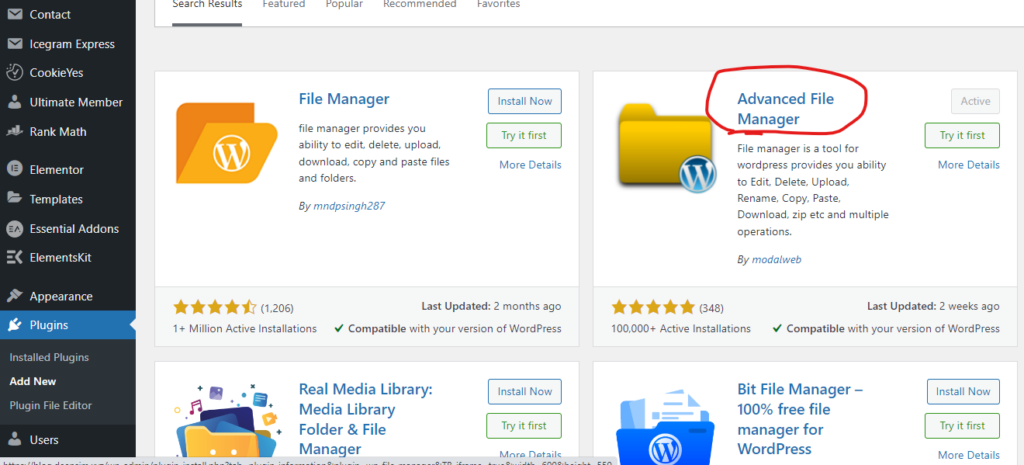
This is optional, you can use File Manager on your cPanel or Cyberpanel of your web hosting provider. If you like to install a File Manager plugin, just go to Plugins and click add new, and search File Manager. Otherwise, go to next step directly. You can choose one in the following screenshot. I selected Advanced File Manager, but I have not studied the difference between it and the first one in the screenshot. After installing one of them and activating it, please go to the next step.
Step 3: Upload the HTML file in a Root Folder
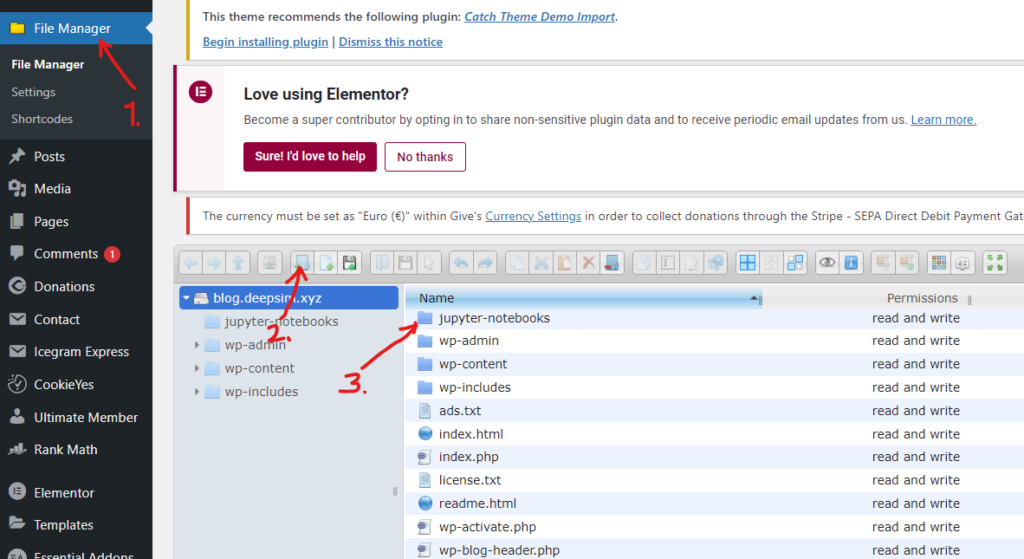
Open the File Manager, and then create a new folder in the root of your website. For example, I create a folder named jupyter-notebooks.
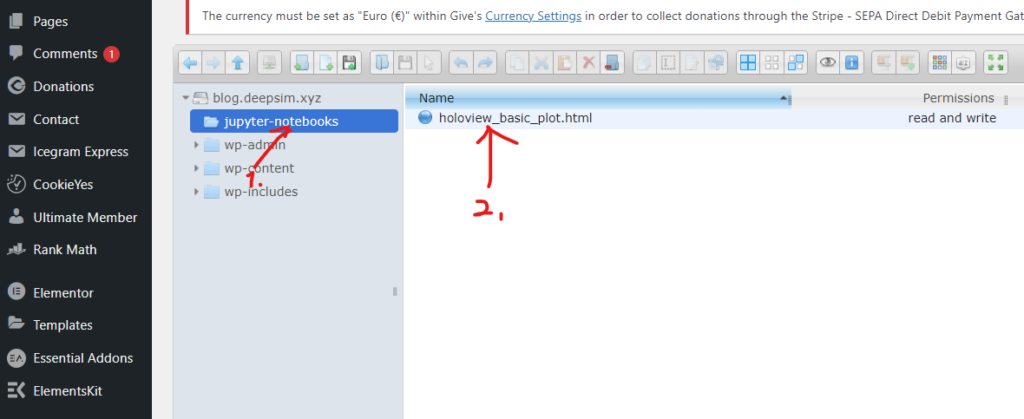
Then, open the folder and upload or drag the html file directly into it. It looks something as the following screenshot.
Step 4:Embed the HTML File in the post
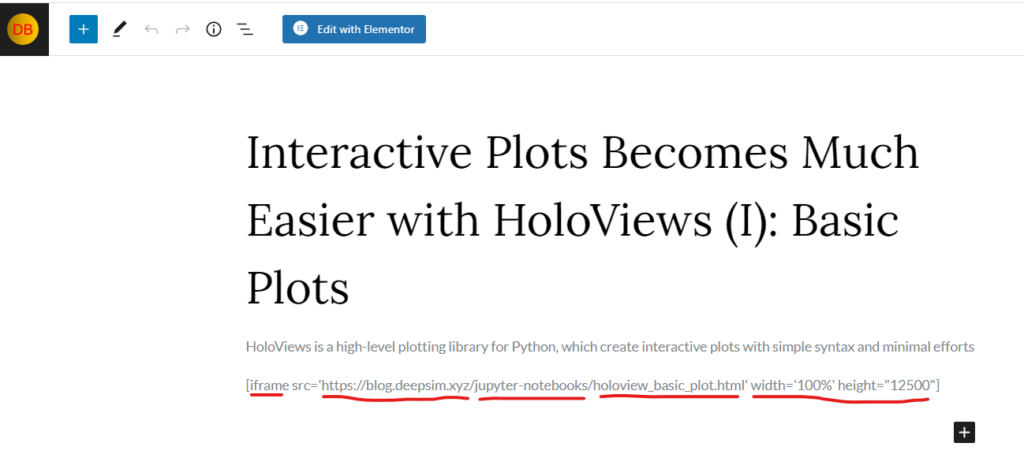
Now, you just create a new post normally and type anything you want. At the place where you want to embed the HTML of the Jupyter notebook. Just type the following code.
The path is your domian name/the folder name/filename.html, and you set the iframe height and width based on your length of the Jupyter notebook. It needs try-preview-try untill the post looks nice. For example, let’s configuration of one of my post in the following screenshot.
You can see and read the final post that I published using this method in my blog by click this link.
4. Video Version
If you are interested in a video version of this post, please go ahead to watch it from my YouTube Channel.