To illustrate how to easily adjust the size of an embedded image and align it left, center and right
It is very easy to insert an image in a Markdown cell using Markdown syntax. For example, let’s embed a Python logo into a markdown cell, and the python-logo image is in the images folder in my working directory. We can use the following Markdown syntax.

If your image is in a different path, and you just change the path ./images/python-logo.pngwith your image path.

Whereas, it does not work to adjust the size of the embedded image and align it in the markdown cell using the normal Markdown syntax in a Jupyter notebook.
Instead, we can easily use HTML syntax to embed an image, adjust it size and align it in a markdown cell in the Jupyter notebook. I will illustrate them using some concrete examples in the following sections.
Embed an image
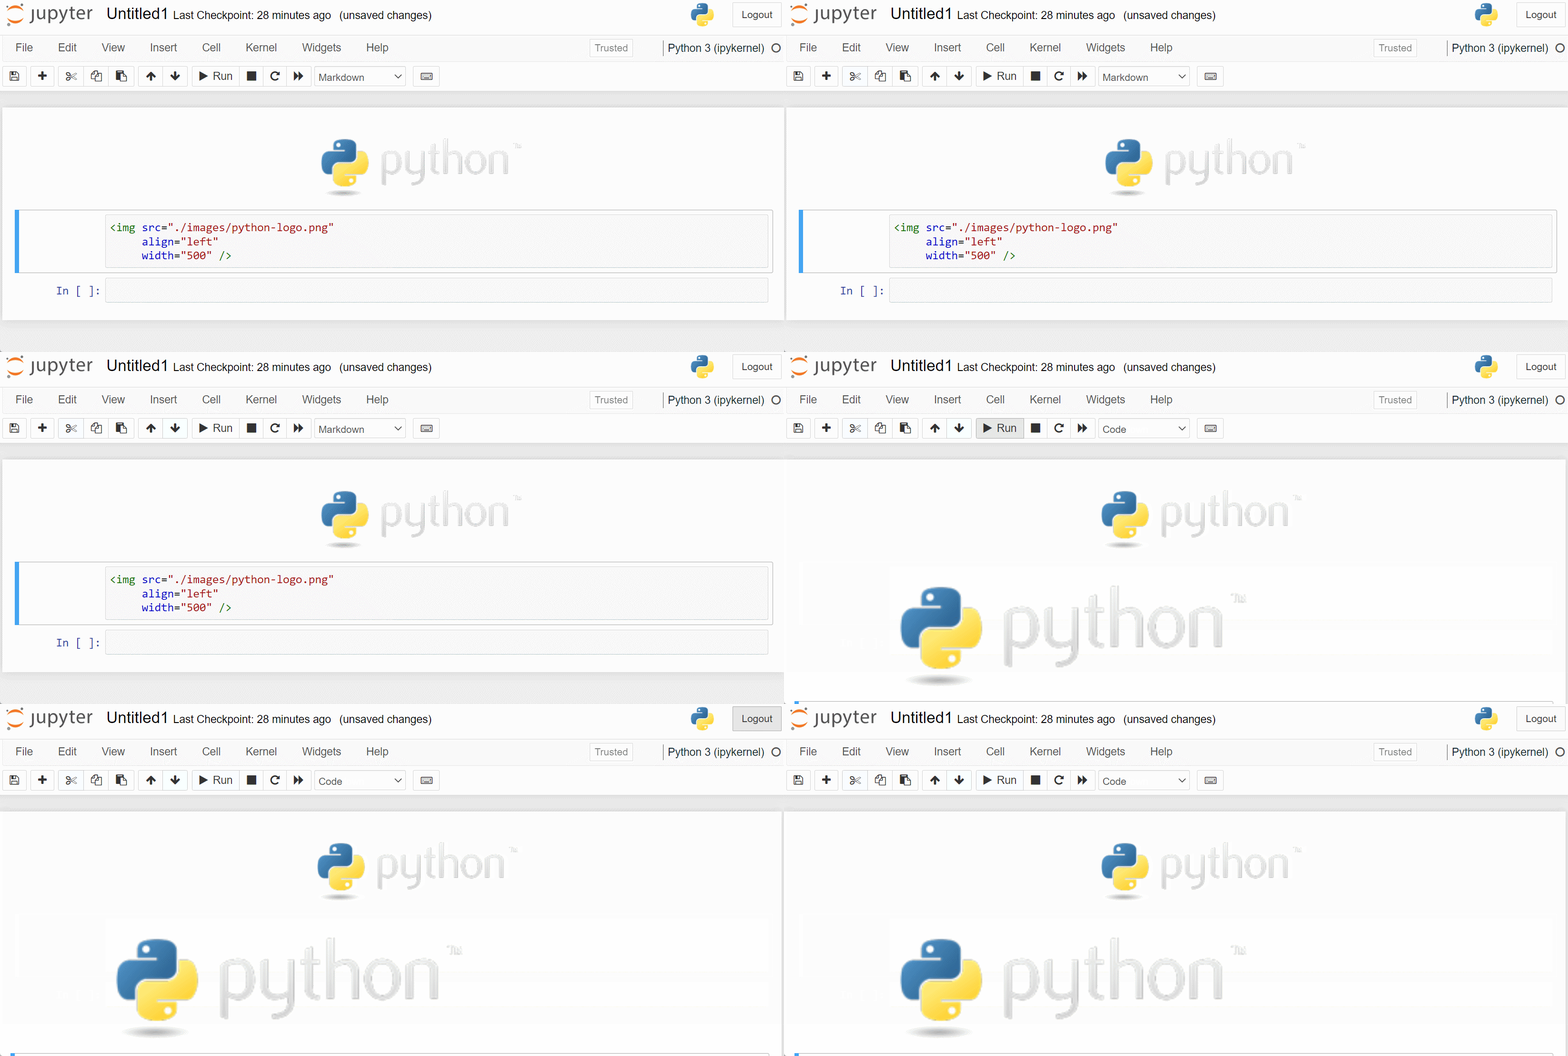
For example, only one image is embedded into a Jupyter notebook. I still use the Python logo, and you can use your own image. In this example, suppose we align the image left and adjust its width size to 500.
<img src="./images/python-logo.png"
     align="left"
     width="500" />
The result looks as follows:

Embed two or more images vertically
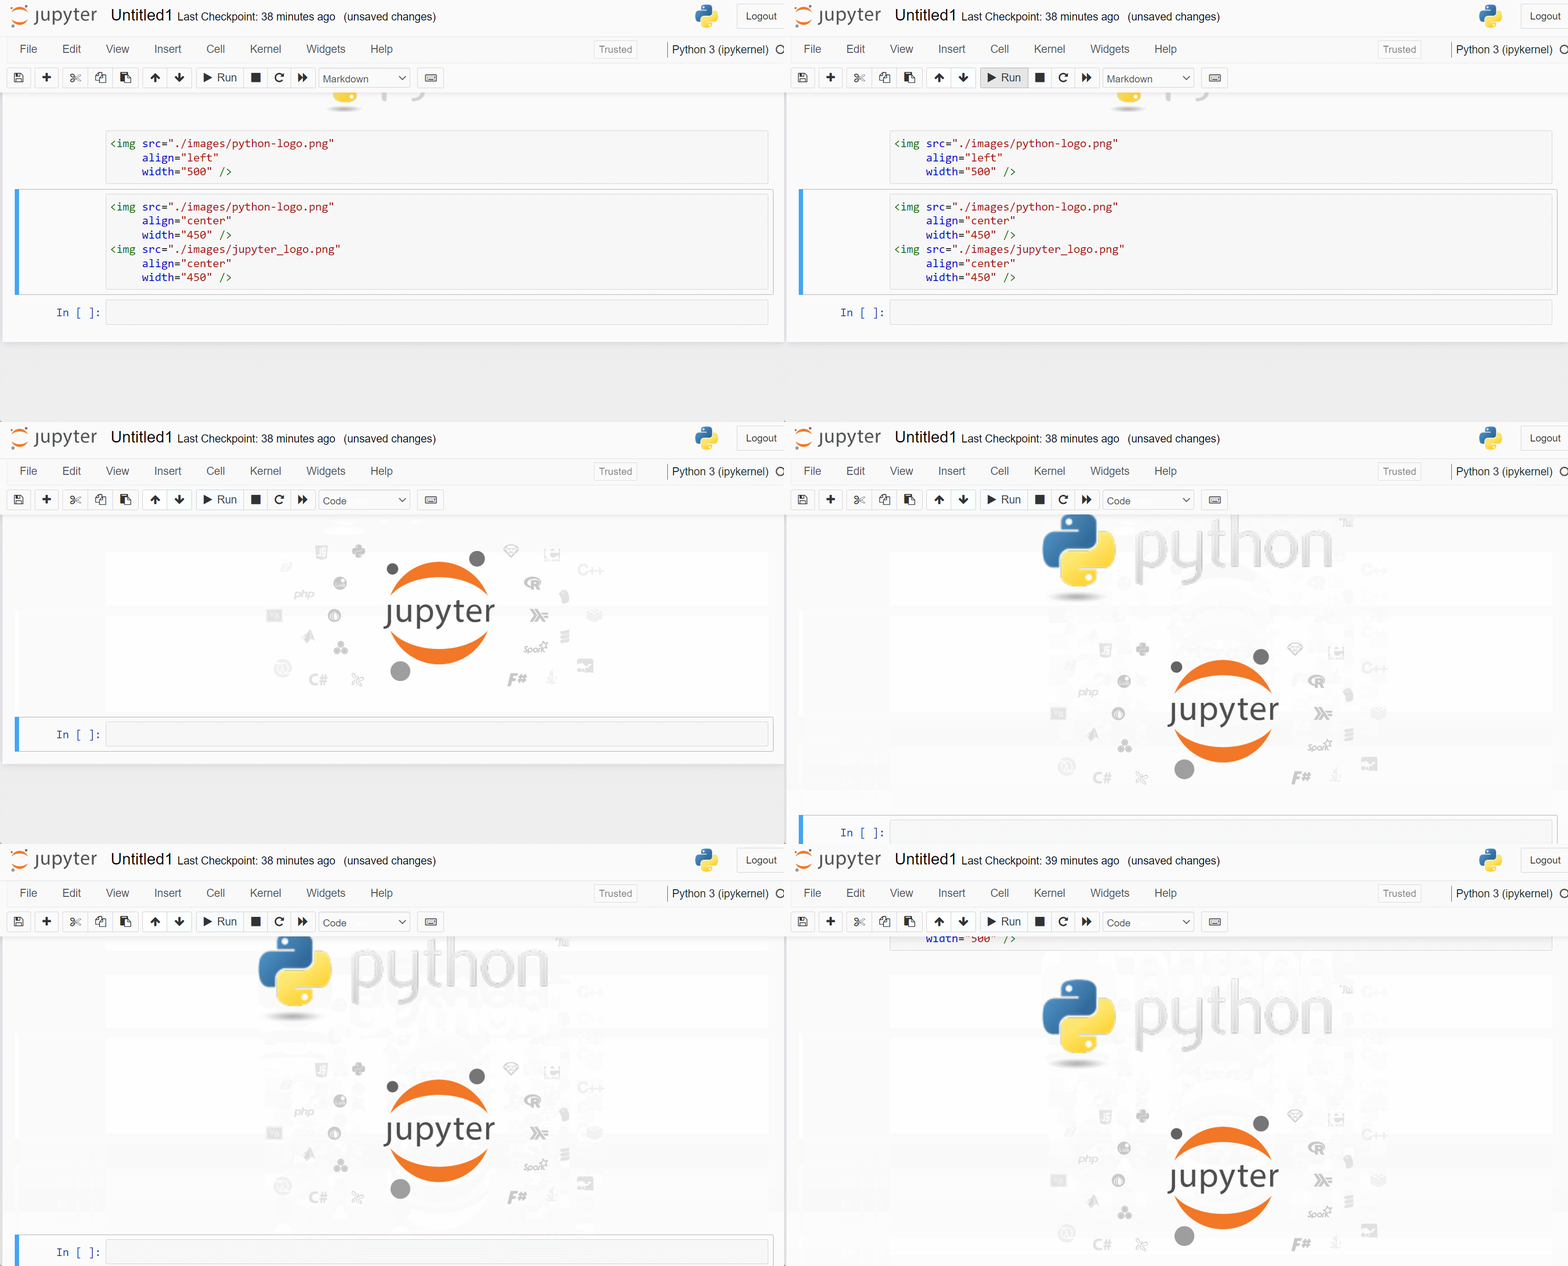
It is easy and direct to insert two or more images vertically and align them. Let’s embed Python logo and Jupyter logo into a cell , adjust their sizes to width 450, and align them to the center of the cell.
<img src="./images/python-logo.png"
     align="center"
     width="450" />
<img src="./images/jupyter_logo.png"
     align="center"
     width="450" />
The outcome looks as follows:

Embed two or more images on the same row
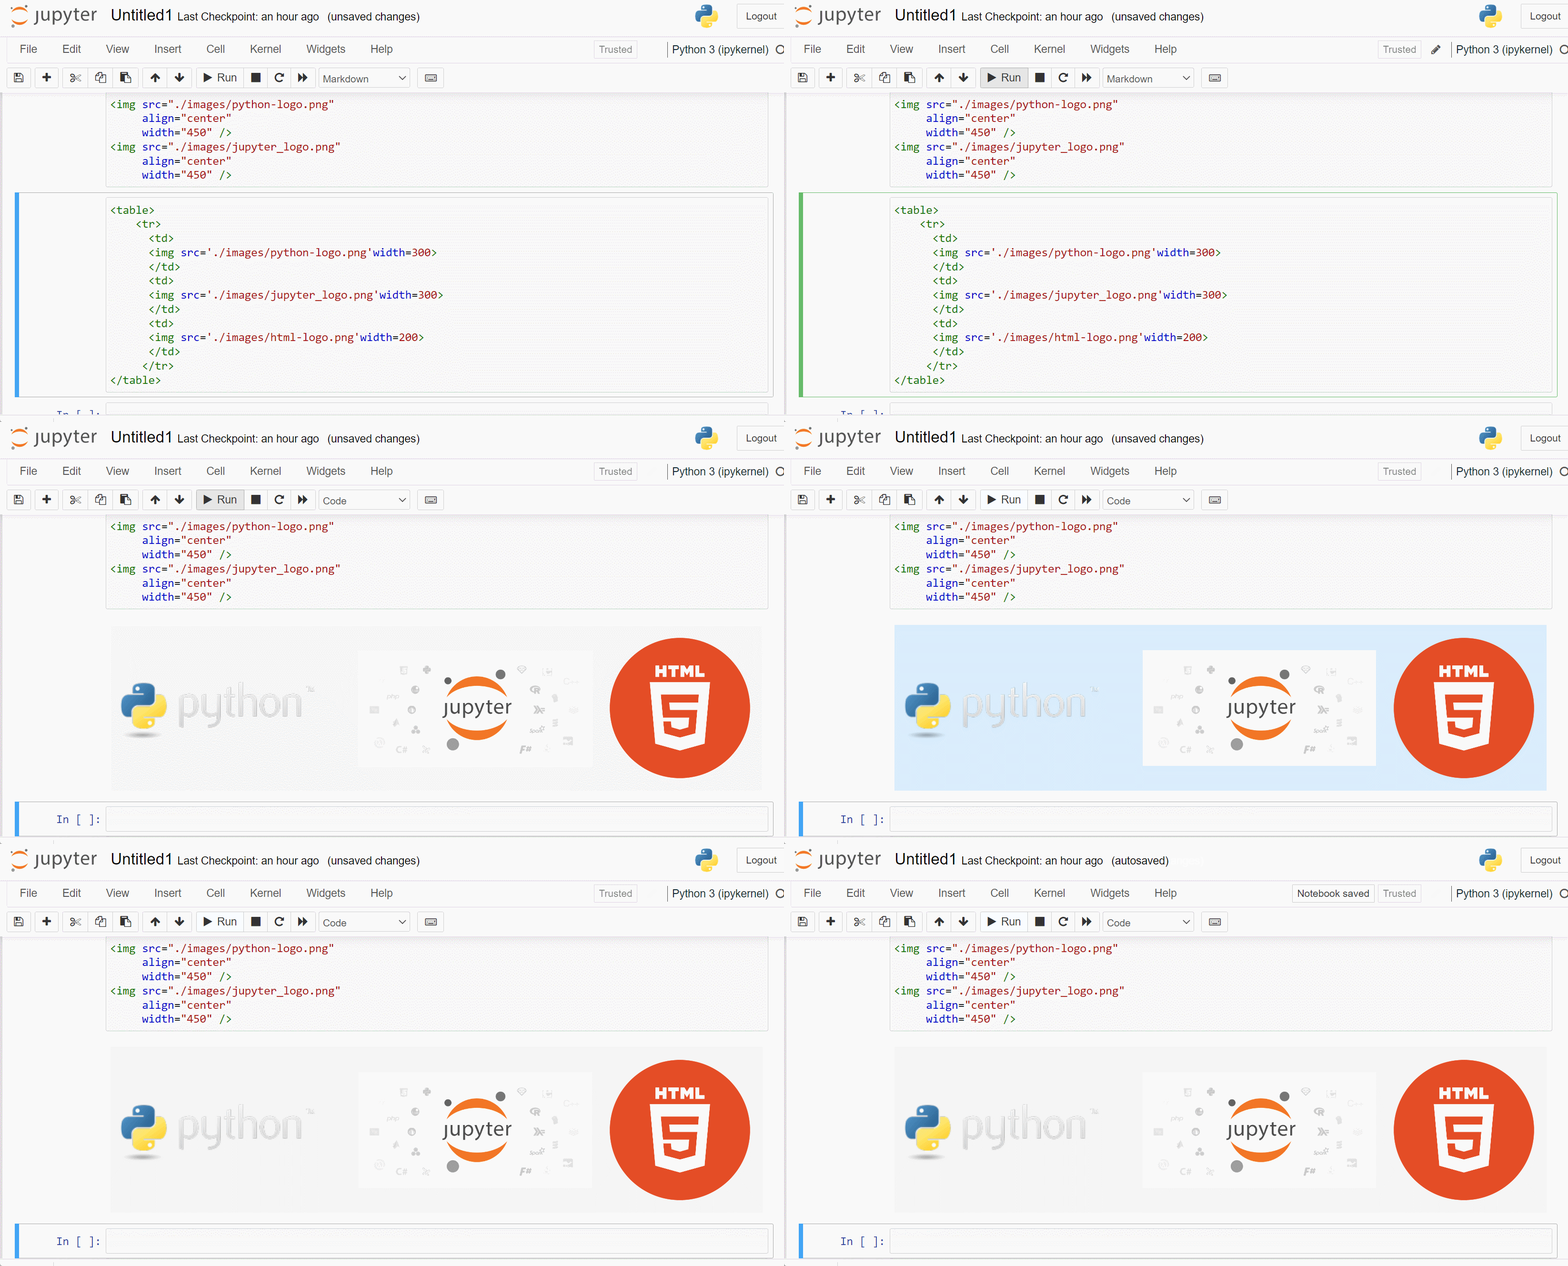
However, we cannot embed two or more images on the same row using only the <img> tags. Instead, we can use HTML <table> or <div>. Here, let’s see an example using an HTML table, where we just put three <img> tags into the three cells of an HTML table.
<table>
    <tr>
      <td>
      <img src='./images/python-logo.png'width=300>
      </td>
      <td>
      <img src='./images/jupyter_logo.png'width=300>
      </td>
      <td>
      <img src='./images/html-logo.png'width=200>
      </td>
     </tr>
</table>
The result looks as follows:

The HTML looks larger than the other two, so we can adjust it to an even smaller size.
Video Tutorial
If you want to see a video version, you are welcome to watch a video tutorial with different images on my YouTube channel. If this video is helpful, please subscribe to my channel to support me.
A Course
If you are interested in learning Jupyter notebook in details, you are welcome to enroll one of my course Practical Jupyter Notebook from Beginner to Expert.


